First Apartment Checklist
First Apartment Organization Checklist: A Calm Move-In Order
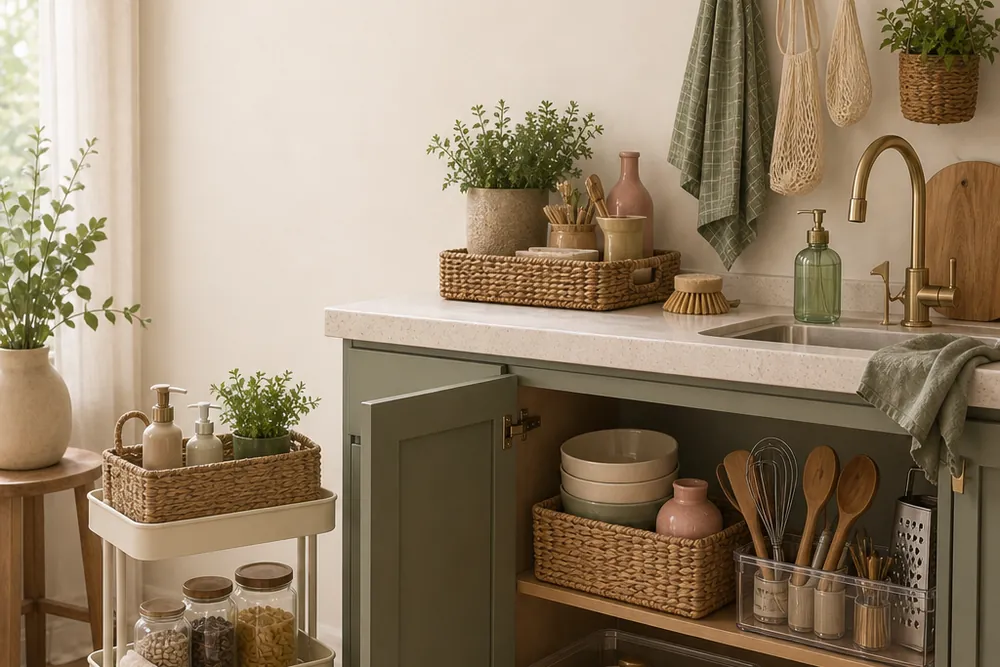
The fastest way to make a first apartment feel settled is not to unpack every box. It is to establish a safe first night, make tomorrow morning easy, and delay storage purchases until the fixed spaces have been measured. This checklist gives those decisions an order, so budget and attention go to the places that affect daily life.
Treat the apartment as a set of routines rather than a set of rooms. Sleeping, leaving home, preparing food, washing and dressing each need a complete path. A simple temporary path is more useful than a styled cabinet that blocks access or stores the wrong category.
Before boxes enter the room
Keep the lease, move-in report and contact details available offline. Photograph walls, floors, fixtures and appliances before furniture covers them. Check that windows and exterior doors operate, identify the electrical panel and water shutoffs, and report anything that needs attention. Do not attempt repairs outside your responsibility or knowledge; use the process stated by the property manager.
Map the carrying route from the building entrance to each room. Protect corners and floors as appropriate, keep exits clear, and place boxes against walls rather than in door swings. Labels should name the destination and priority: open tonight, open this week, or later.
The first night is a minimum viable home
Build one clean, functioning zone at a time. Make the bed before fatigue turns a simple task into a floor full of packaging. Put medication, water, a phone charger, toilet paper, soap and a towel where they can be reached without searching. Keep keys, identification and lease documents together in a single landing place.
For food, unpack only enough to prepare or serve one simple meal and breakfast. Check appliance instructions before use, keep food separate from cleaning supplies, and avoid blocking ventilation around appliances. The first-apartment kitchen setup guide expands that sequence without assuming a large pantry or a full set of equipment.
Measure before choosing storage
Measure fixed zones after the apartment is empty enough to reach them. For each cabinet, closet and niche, record the opening width, interior width, depth and height. Note hinges, handles, pipes, baseboards, outlets and the full door swing. Measurements from a listing or floor plan rarely include those obstructions.
Save each result with a photo. A note called “hall closet” is easy to confuse; “hall closet upper shelf: 76 cm wide, 38 cm deep, 31 cm clear height” can be checked while comparing a container. Add a small handling allowance rather than treating the measured opening as a target exact fit.
Set the budget in three layers
First fund safety, cleaning and daily function: any approved replacement needed for a smoke alarm, basic cleaning tools, a lamp, a shower curtain where required, or a way to prepare food. Responsibility for installed safety equipment varies, so contact the owner or manager rather than altering it without permission.
Second fund one-week friction: the shoe pile that blocks the entry, the bathroom items with no dry home, or the closet category that keeps falling. Third comes visual refinement. Matching baskets and labels can wait until the system proves its shape. Hold back part of the budget because the apartment will reveal problems only after several ordinary days.
Organize the kitchen and bathroom by risk
In the kitchen, establish hand washing, food preparation, cooking and clean-up zones. Store food away from household chemicals, keep frequently used tools within comfortable reach and preserve useful counter area. Do not decant food if doing so would remove date, allergen or preparation information. The goal is a clean workflow, not a wall of matching jars.
In the bathroom, give daily items one washable tray or cabinet zone, let wet textiles dry, and keep ventilation openings clear. Cardboard and untreated fibers can hold moisture in a humid room. For compact layouts, the small renter bathroom guide compares over-toilet, door and cabinet options with their limitations.
Use the closet you have for one week
Start with the existing rod and shelf. Hang long garments together so the remaining floor area is visible, fold heavy knits, and put only light, infrequent items above shoulder height. A temporary box can define a category while you count its real volume. Buying a ten-piece closet kit before that inventory often creates unused components and extra return work.
If the rod, shelf and floor are still overloaded after the edit, use the small-closet zone plan to compare a second hanging level, shelf containers and door storage. Check load limits and door clearance rather than assuming a removable system suits every closet.
Preserve the entry path
The entrance must work when hands are full. Mark the door arc with painter’s tape on the floor if the swing is hard to visualize, then keep shoes, boxes and baskets out of that area. Choose one landing place for keys and one active-shoe zone. Move off-season pairs elsewhere instead of asking a narrow hallway to hold the full wardrobe.
Expect trade-offs, not a finished reveal
Open storage is faster to use but shows more visual detail. Closed storage feels calmer but consumes depth and can hide forgotten items. Adhesive storage saves floor space but depends on surface condition, lease terms and correct removal. A rolling cart is flexible but needs a parking place and a clear route. Write the trade-off next to each possible purchase; that makes rejection easier when an option solves one problem by creating another.
Run the seven-day review
At the end of the first week, reset the apartment and notice what remains out. Do not count a one-time moving task as a recurring storage failure. List three daily bottlenecks, rank them by frequency and inconvenience, and solve only the first. Test one container or organizer before buying multiples.
The eight steps below turn this approach into a repeatable move-in checklist. For smaller purchases, compare the renter storage budget ideas, or return to the full guide collection when another room is ready.
Document the empty apartment
Photograph existing marks, test doors and windows, locate shutoffs and breakers, and report maintenance issues through the channel in the lease. Keep the record with the move-in inspection.
Build one first-night zone
Make the bed, unpack basic toiletries, set out medication and chargers, and create one safe place for keys and documents before opening decorative boxes.
Measure every fixed storage zone
Record openings, interior width, depth, height, hinges, pipes and door swings. Add the measurements to a phone note so purchases can be checked away from home.
Create a realistic setup budget
Separate required safety and cleaning supplies from optional organizers. Reserve part of the budget until the apartment has been used for at least a week.
Set up the kitchen by activity
Keep food preparation, cooking, washing and waste as distinct zones. Leave the counter space nearest the main preparation area open instead of filling it with containers.
Give clothing a temporary complete system
Use the existing rod, shelf, floor and door before adding furniture. Keep a donation bag nearby and avoid buying bins until the volume of each category is known.
Solve the daily exit and bathroom routines
Assign places for shoes, keys, towels and daily toiletries while preserving the entry walkway, door operation and bathroom ventilation.
Review after seven days
List the three repeated bottlenecks, solve the most frequent one first and return anything that fails its measured zone. Leave systems that already work alone.
Frequently asked questions
What should I unpack first in a first apartment?
Start with sleep, medication, hygiene, charging, basic food and important documents. A livable first night matters more than finished shelves.
Should I buy organizers before moving in?
Buy only universal essentials before the move. Cabinet openings, pipe positions, closet depth and door swings are difficult to judge accurately until you can measure the actual apartment.
How do I organize on a limited budget?
Use boxes and containers you already own for the first week, then spend on the bottleneck that repeats most often. Keep a separate reserve for maintenance and safety needs.